


Table of Contents
- What Smart Mold demonstrated in Milan
- What the reported trial figures measure
- How to compare two restart methods on the same press
- Where camera inspection fits into quality release
- What changes for multi-cavity tools and older presses
- What OEM buyers can ask for
What Smart Mold demonstrated in Milan
Smart Mold brought its Aria injection molding assistant to SMAU Milano on November 3–4, 2026, following its June debut at Plast 2026. The Italian company, affiliated with Sirmax Group, is targeting an everyday production problem: how to bring a press back to an acceptable condition after a mold change, machine stop or material change. This is a follow-up look at the November showcase and what a molding team could verify in its own restart trial.
Aria combines camera-based inspection with software that grades visible defects and recommends process adjustments. The recommendations are intended for the operator. The system can help show whether the severity of a defect is moving in the right direction as a technician works through a restart. Smart Mold also describes retaining what was learned during tool trials so it can be used in later setups. That can help when shifts share a tool or when a process has to be recovered after an extended stop.
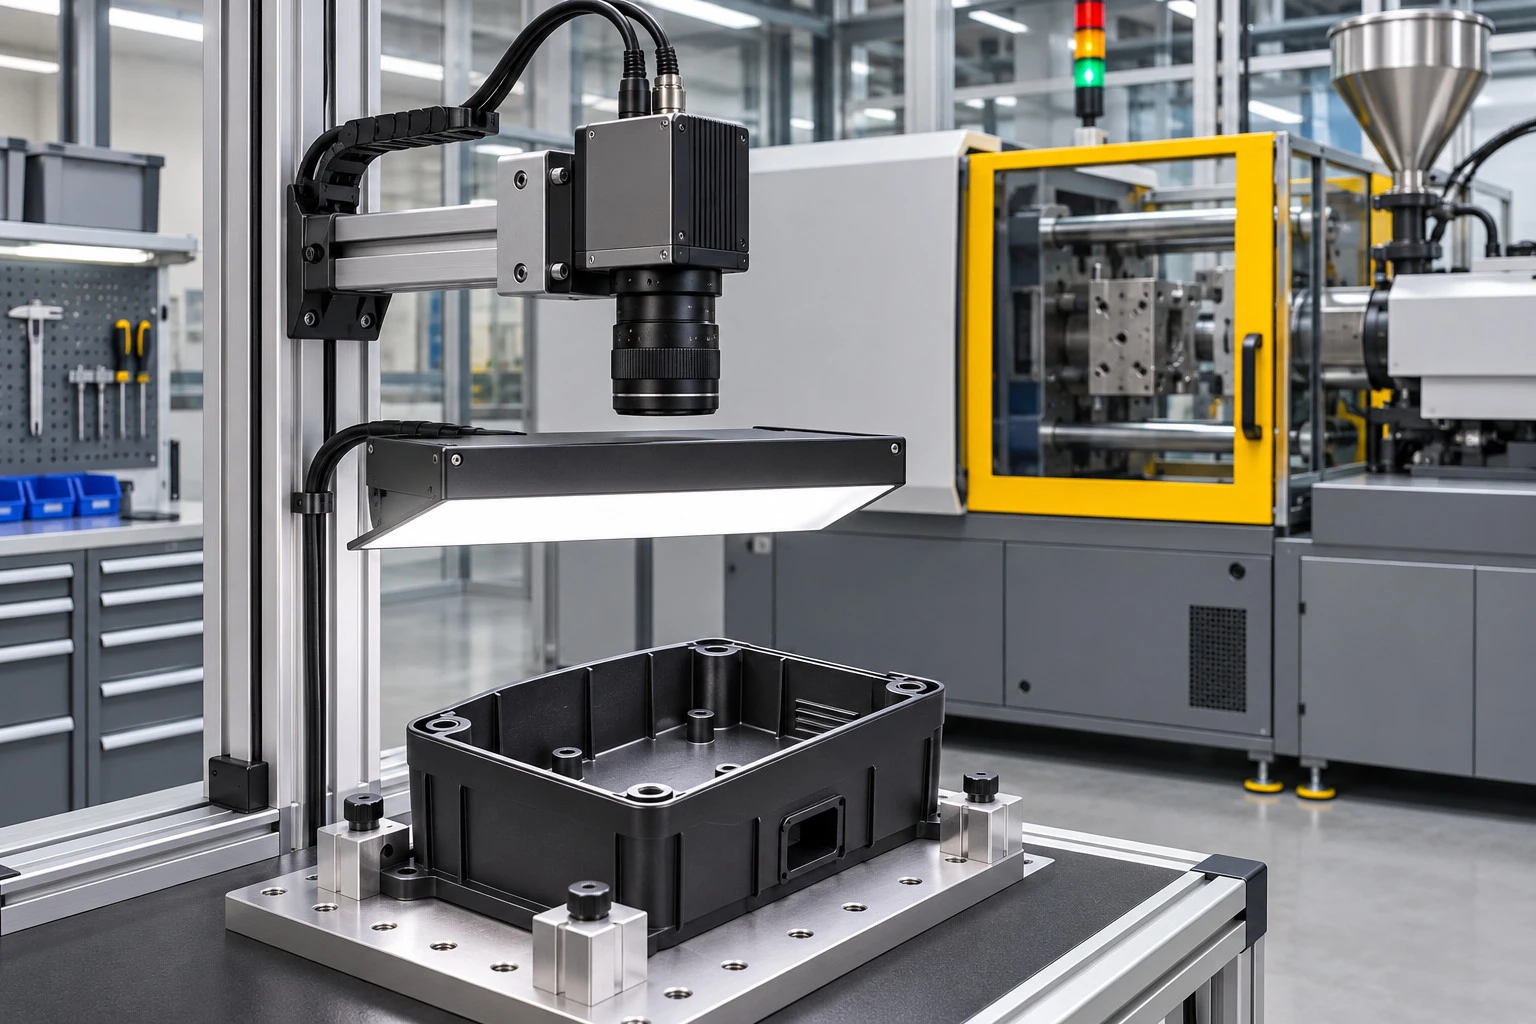
Illustrative machine vision station examining a molded industrial enclosure. AI-generated concept image.
Related reading: SWKS overview of AI in injection molding.
What the reported trial figures measure
Smart Mold reported that the average number of adjustments or trials needed to reach the required quality fell from 25 to 3 in its tests. The company also reported that rejected parts during restart fell from 128 to 8. These changes correspond to an 88% reduction in trials and a roughly 94% reduction in restart rejects. Both are supplier-reported results. They describe the tested restart conditions, and should be evaluated separately from long-run scrap, dimensional capability or total line output.
The two counts answer different questions. A single setup trial can produce several molded parts, particularly when a mold has multiple cavities or the technician needs consecutive cycles to evaluate a change. A reduction in trial count and a reduction in rejected parts therefore need separate baselines. When comparing results from two presses, record how many cavities were active, which rejects were included and how the team decided the process was ready for production.
A plant should also track elapsed time. The same number of setup trials can take very different amounts of time depending on the cycle, the inspection method and whether the first acceptable lot requires a hold for dimensional measurements. Time to release should include the normal quality checks when those checks determine whether the lot can ship.
| Metric | Before | With Aria | How to compare |
|---|---|---|---|
| Trials to accepted setup | 25 | 3 | Keep the same definition of a trial and release criteria. |
| Rejected parts during restart | 128 | 8 | Record active cavities and apply the same reject count boundary. |
| Elapsed time to quality release | Plant baseline | Measure in your pilot | Include dimensional checks when they control release. |
How to compare two restart methods on the same press
Use one qualified part and tool for the first comparison, with a written definition of the restart event. A hot restart after a brief interruption is a different case from a cold tool change at the beginning of a shift. Evaluate them separately. Define the starting point for the clock, the release criteria and which material is counted as scrap. The normal setup provides a baseline against which the assisted setup can be compared.
For each restart, log the tool, machine, resin grade and lot, mold temperature at startup, number of active cavities and any unusual handling. Identify each set of trial parts by cycle or time. If a recommended change is made, record the previous setting, the change and the next measured outcome. This makes it possible to distinguish a useful recommendation from the natural improvement that happens as a cold tool approaches its normal operating temperature.
Run more than one comparison across the operators and shifts that would use the system. A single good result can establish feasibility. Repeated runs help reveal variation in the startup condition, part presentation and operator response. Keep unusual interruptions in the record, even if they are excluded from the primary comparison, and state why.
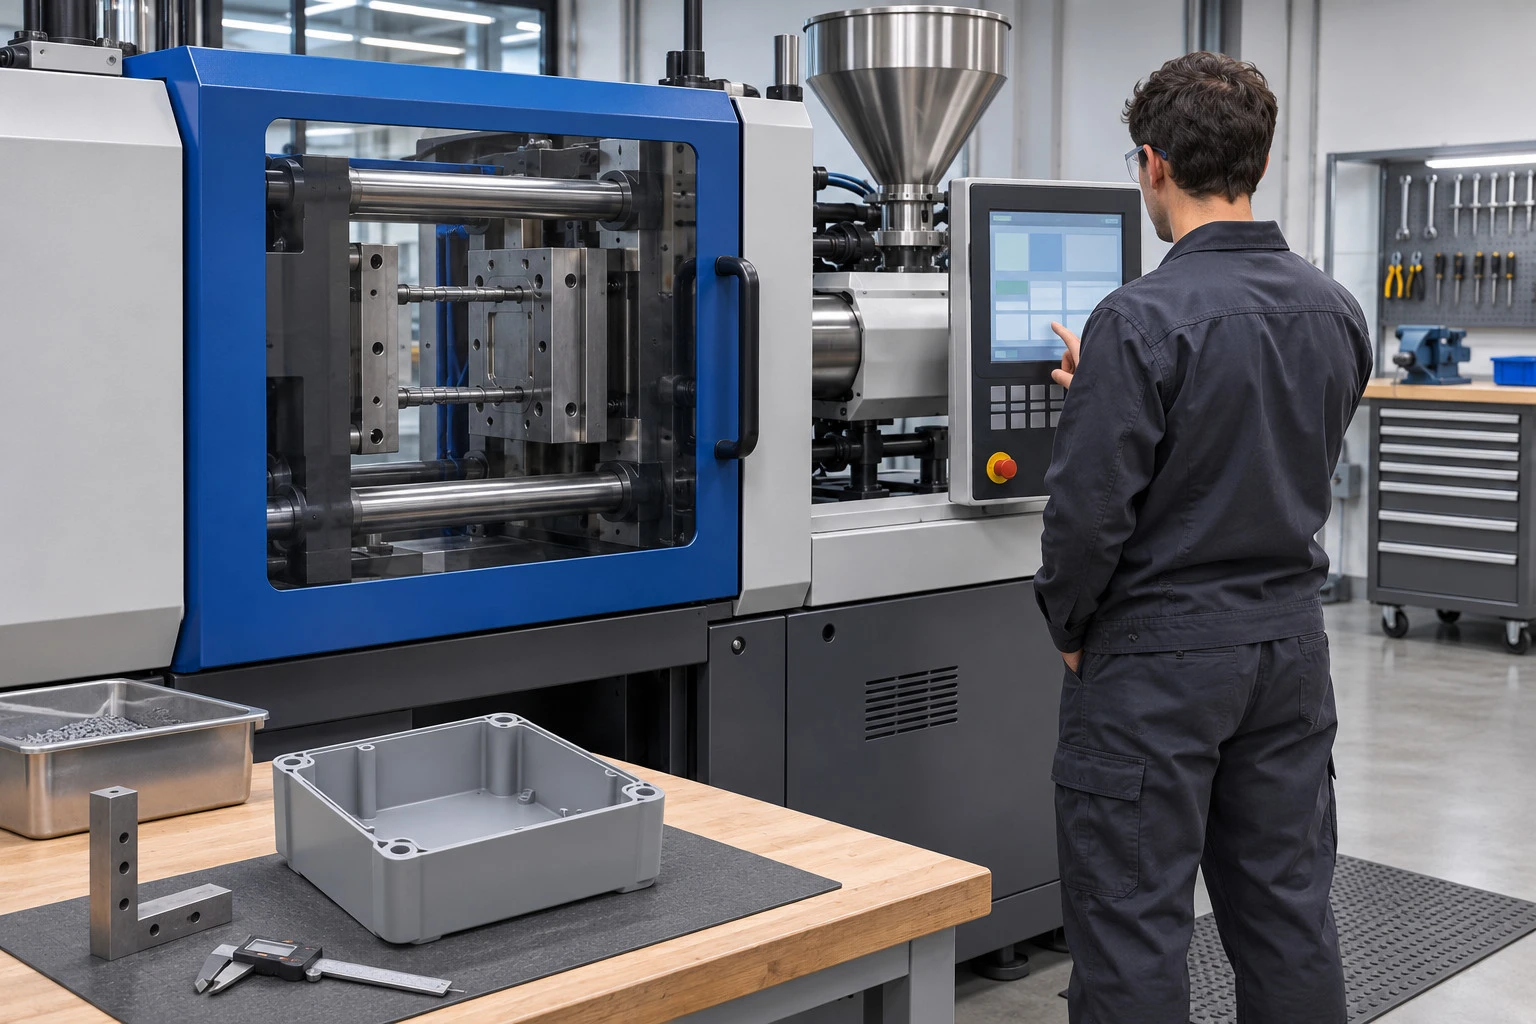
Illustrative technician reviewing settings on an injection molding press. AI-generated concept image.
Where camera inspection fits into quality release
The camera station needs a stable view of the feature being judged. Locate the part consistently and choose illumination that makes the relevant defect visible. Gloss changes, reflections and part movement can affect an image even when the molded feature stays the same. During validation, compare camera classifications with the criteria already used by quality personnel and include boundary samples where judgment is most difficult.
When a defect matters only on a hidden face, decide whether the fixture needs an additional view. When a drawing calls for flatness, bore size or assembly gap, keep the approved measuring method in the release process. Inspect those features on the agreed sample interval and under the agreed conditioning. A vision score for appearance has its own purpose, while dimensional acceptance remains tied to the drawing and gauge.
At the start of a pilot, agree on how to handle disagreements. If a camera accepts a part that a gauge rejects, quarantine the sample and log the cavity, time and defect category. Review both the lighting and part location and the inspection setup before changing acceptance limits. These exception records can show whether the system needs a better view, a revised defect definition or an additional check.
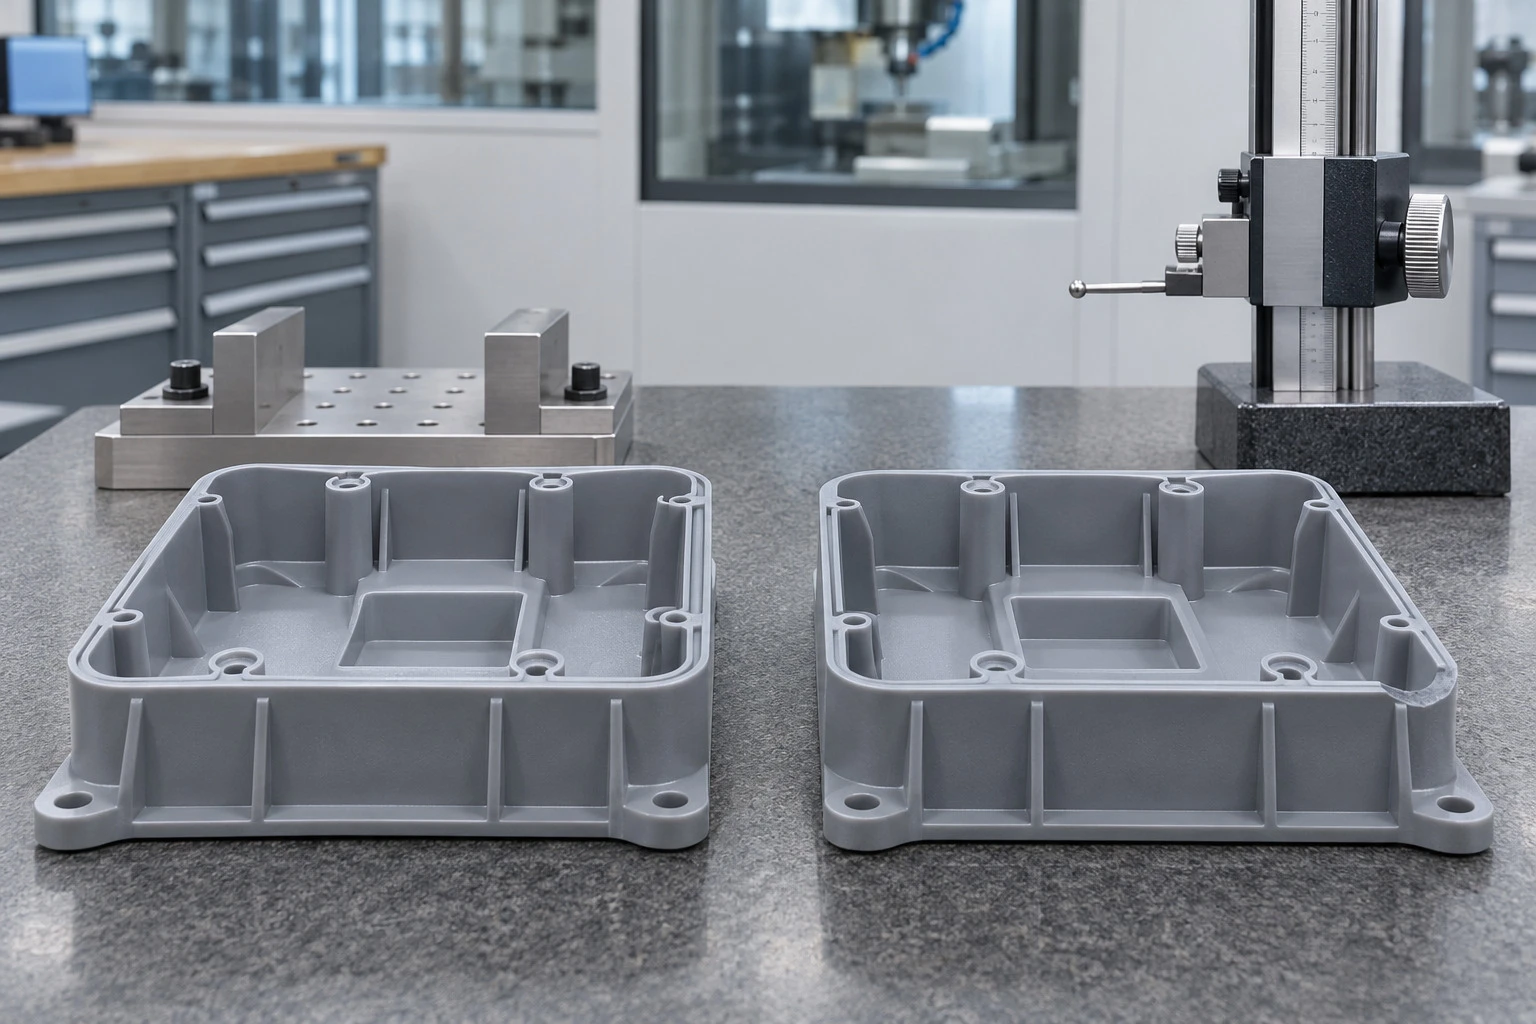
Illustrative comparison of molded housings during quality inspection. AI-generated concept image.
Related reading: SWKS guide to injection molding tolerances.
What changes for multi-cavity tools and older presses
Smart Mold describes installations using industrial cameras, controlled lighting and a local processing unit. The company says settings can be read from a machine display when a digital interface is unavailable. A shop considering an older press can verify which values are visible during ordinary operation, how records are associated with a cycle, and what happens when the display is changed to another page.
With a multi-cavity mold, retain cavity identification when samples leave the press. If four parts are presented together and one is consistently short-filled, track which cavity produced it. A press-wide setting change can improve one cavity while moving another away from its accepted condition. Keep cavity-level observations in the pilot, and check whether the inspection fixture presents each part in the same position.
A useful pilot also defines who can act on recommendations. Agree on the allowable adjustment range, the escalation point for a tool or maintenance issue and the record needed for quality release. Include a procedure for returning to the approved setup when the recommendation conflicts with a tooling restriction or when readings are missing.
What OEM buyers can ask for
For a custom injection molded project, ask the supplier how it qualifies the first production parts after a restart and how it preserves traceability across cavities. Identify the visible defects, fit features and dimensions that matter most to your assembly. Share inspection photos or samples where a defect is hard to describe, and specify which dimensions must be confirmed after parts cool or condition.
If a supplier reports an improvement from a monitoring tool, ask for the start and stop criteria, comparable baseline and measured outcome. A restart comparison is most useful when it reports time to quality release and rejected parts together with the applicable inspection method. That gives the buyer a basis for assessing production continuity and tells the process team where additional validation is needed.
Related reading: SWKS guide to preventing warpage and dimensional deformation.
For a custom molding project, send your STEP or STP file, drawings and expected volume to amanda@tjswks.com.